Wednesday 28 December 2022

Origami Christmas Tree - Gift Set


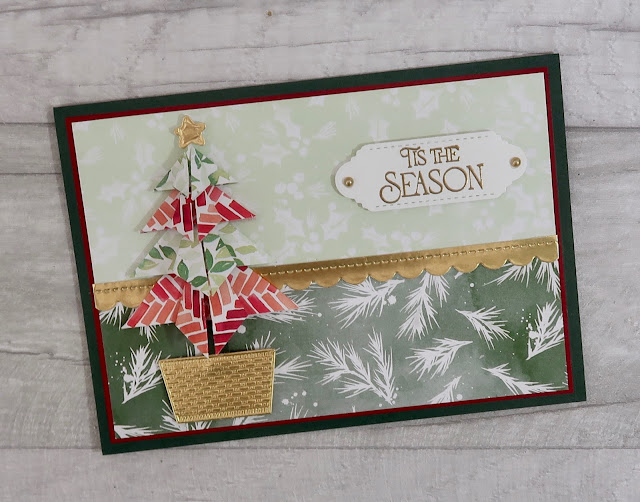
Today I'm sharing a Gift Bag, Tag and card with you. I decorated them with Origami Christmas Trees.

I have already shown you a couple of cards using these trees. The first time I also shared a Video Tutorial showing you how to create them. You can see them HERE and HERE.


I used papers from the Painted Christmas Designer Series Paper pack. This is now retired but of course you can use whatever papers you have :o)

The Gift Bag measures 7½" tall, 2¾" wide and 1¾" deep. I created it to hold a specific Christmas Gift for a friend :o)


I really wanted to create a Tag because I thought the Tree would sit so nicely on the front of it. On the back is a white panel where you can write a message.


I used the (retired) Tree Trimmings dies for the sentiment panel, star and basket. When I created this project (at the start of December) these dies were available for less than half price on the Clearance Rack - so if you are interested in them have a look to see if they are still there :o)


The Gold Scalloped border was created using one of the Penned Flowers dies.


Find Me On Facebook

Follow Me On Pinterest

Subscribe To My YouTube Channel

Supplies Used

Metallic Pearls - retired - use Brushed Metallic Dots instead

If you are in Europe (UK, DE, FR, NL or AT ) you can purchase any of the products below through me in my Online Store. Click on any of the links to take you directly to that item. 

Friday 23 December 2022

Soft Seedlings - Inking With Sponge Daubers - Video Tutorial


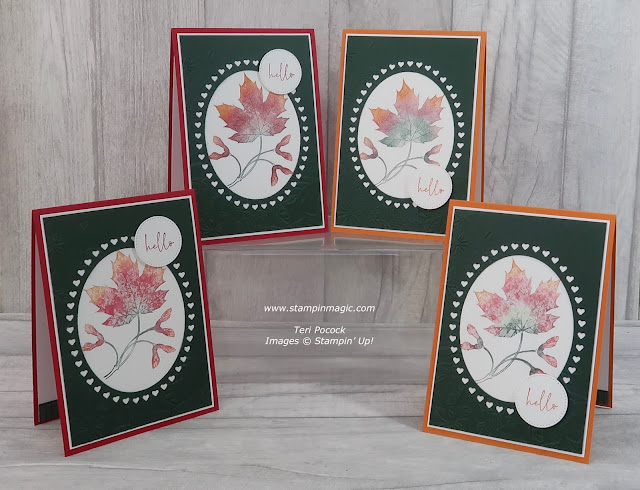
I am sharing another Technique Video with you today showing how I created these cards using Inking with Sponge Daubers.

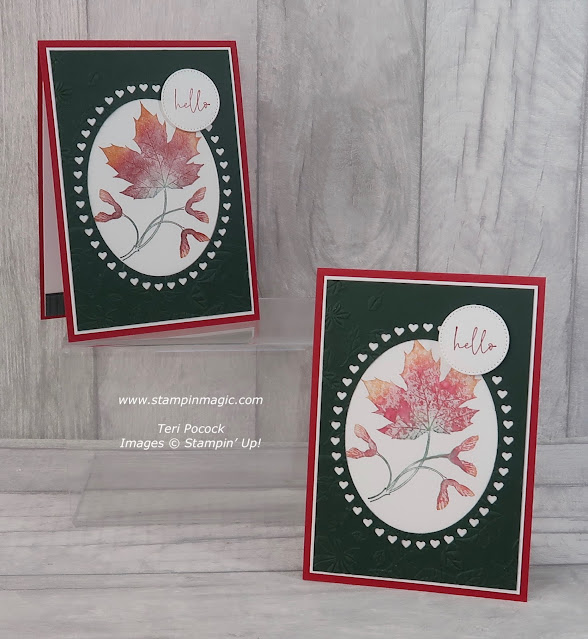
I used the Soft Seedlings stamp set together with the Framed Florets dies.


The Framed Florets dies contain several Ovals and I used two of them to create this beautiful 'frame'.


The technique is super simple - you just pick up ink from the ink pads with sponge daubers and apply it to the stamp.

The card bases used for these first two cards are Pumpkin Pie.


I used Real Red for the cards I created in the Video.

Each card in the pair is slightly different. I inked up the stamp using the daubers and then stamped it down onto the first panel. I then spritzed the stamp using water and stamped it onto the second panel. You get slightly different 'looks' doing this.


Here is the Video ...


Measurements


Note: If you use A4 as your standard sheet of card – follow the metric measurements (cms).

If you use 8½” x 11” as your standard sheet of card – follow the imperial measurements (inches).


Real Red card base                         ½ an A4 standard sheet of card

                                                                                                                  (US 8½” x 11”)  


Basic White (Inside)                       14.4cm x 10cm            (US 5¼” x 4”) 

Basic White                                        14.1cm x 9.8cm           (US 5¼” x 4”) 

Evening Evergreen                         13.8cm x 9.5cm           (US 5” x 3)


You will need additional Basic White card to complete the project.


Find Me On Facebook

Follow Me On Pinterest

Subscribe To My YouTube Channel

Supplies Used

If you are in Europe (UK, DE, FR, NL or AT ) you can purchase any of the products below through me in my Online Store. Click on any of the links to take you directly to that item.


Wednesday 21 December 2022

Peaceful Deer - with the Aspen Trees Dies


The Aspen Trees dies coordinate with the Perched In A Tree stamp set but they can work really well with many others.

Here I've paired them with the beautiful Peaceful Deer stamp set.


The die cut Smoky Slate panel has been embossed using the Timber 3D folder. The White Glimmer card behind it is retired but this comes back quite regularly so keep an eye out for it :o)


If you are in Europe (UK, DE, FR, NL or AT ) you can purchase any of the products below through me in my Online Store. Click on any of the links to take you directly to that item.